Buttons and Timings
Code blocks used in this tutorial:
Our goal for this tutorial will be to control the animation speed using buttons:
A button: slow action. B button: fast action.
We are going to use the Input blocks. Click in Input and drag and drop on button [A▼] pressed on an open space on the right side.
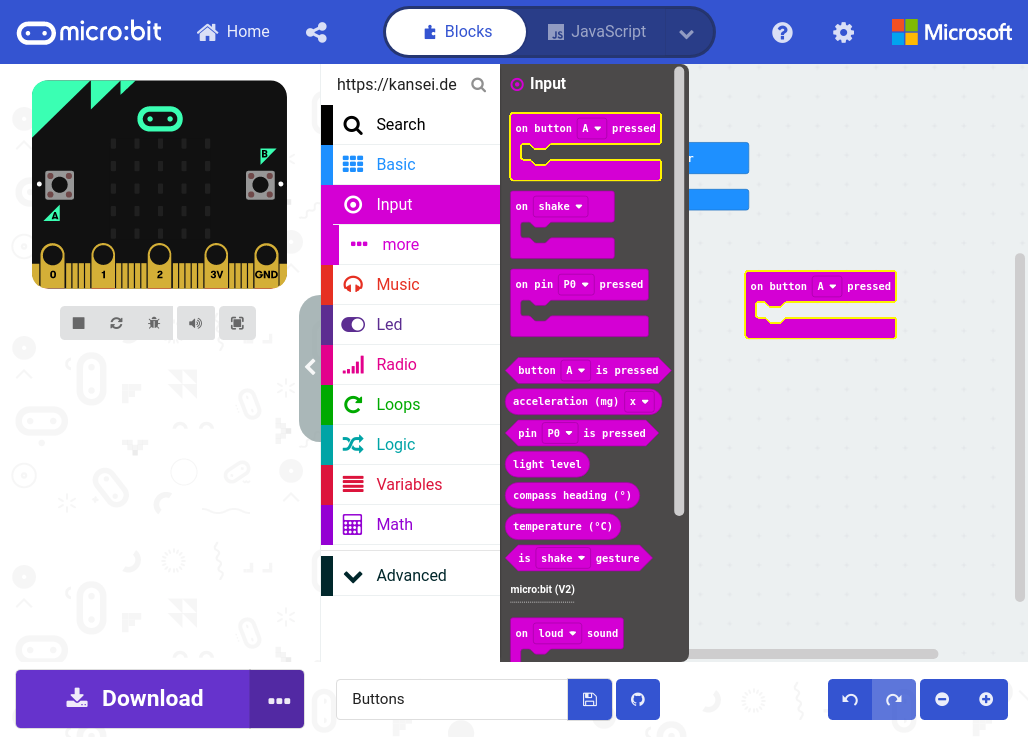
on button Code Block
This block tells micro:bit what happens when a button is pressed.
If you click on the down arrow ▼, you can select the specific button to check
(A, B, or A+B).
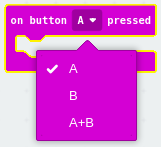
on button Selection
Let’s select button A and create a simple animation.

on button A pressed
Let’s test our program by clicking on play ▶.
on button A pressed
You may have noticed that the animation timing is a little bit too fast. This is because we haven’t told micro:bit how long it should pause before changing the animation.
We can use the Basic > pause (ms) [100▼] code block to tell micro:bit to wait for a
little bit before doing the next instruction.

pause Code Block
If you click on the down arrow ▼, you can select the specific time that
micro:bit should wait. You can also manually write the time (in milliseconds).
For our animation, let’s write 500 and let’s place a pause block between
each show leds.
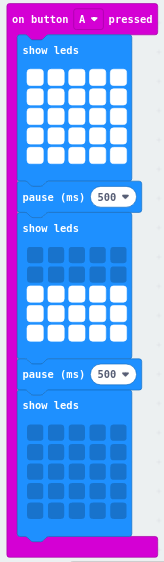
on button A pressed with pause
Now, if you click on play ▶, we should have the correct timing!
on button A pressed with pause
Are you up for a challenge?
Try to program the code for button B by yourself. There should be a 50 ms pause
between each LED animation.
Once you finish, you can check your solution with the answer here.