Creating a Project
My First Project
Let’s start by creating our first project in MakeCode. Go to https://makecode.microbit.org/ and click on New Project.
We need to give a name to the project. We can call it MyFirstProject. Write
the project name in the text box and click on Create.

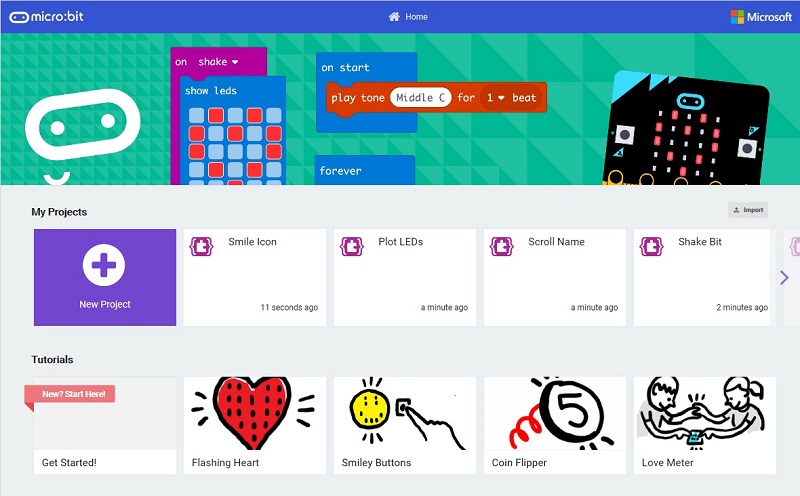
You will see the following screen:

On the left side, we have the micro:bit simulator. If you click the play ▶ button, you can test your program. You can click stop ▪ to stop the simulation.


On the middle, we have the code blocks. You can click them to use different instructions. You can drag and drop a code block onto the right side to use it.

On the right side, we have the programming area. You can arrange the code blocks and tell micro:bit what it needs to do.
